Steam offers a vast library of games to download and play on your PC. The latest gaming titles such as Call Of Duty: Modern Warfare come as large as 231GBs. So downloading games can be a painstaking process, which becomes worse if you experience slow download speeds in Steam on Windows 11.

While you may think downloading games at late hours might help better speeds, you might be wrong. There might be several reasons hampering the game download speeds in Steam. We compiled a list of solutions that can help you fix slow download speeds in Steam on Windows 11.
1. Check for Network Related Issues
As the first step, check for network-related issues with your PC. Run an internet speed test on your computer to ensure you’re getting consistent and at least double-digit speeds..
If the speed test runs as expected while offering good download and upload speeds alongside a lower ping, your internet’s probably fine. However, there might be other issues slowing down your Steam downloads.
If your wireless is slow and not working properly, check out our guide to fix problems when Wi-Fi is connected on Windows 11 but refuses to work. For those using a direct LAN cable, refer to our guide when ethernet doesn’t work on Windows 11.
2. Update or Reinstall the Network Drivers on Your PC
Often obsolete or corrupt network drivers on your PC can cause slow download and upload speeds. Hence, updating or reinstalling the Network drivers on your computer is a good idea to ensure a stable network connection.
Here’s how to update or reinstall the network drivers on your computer:
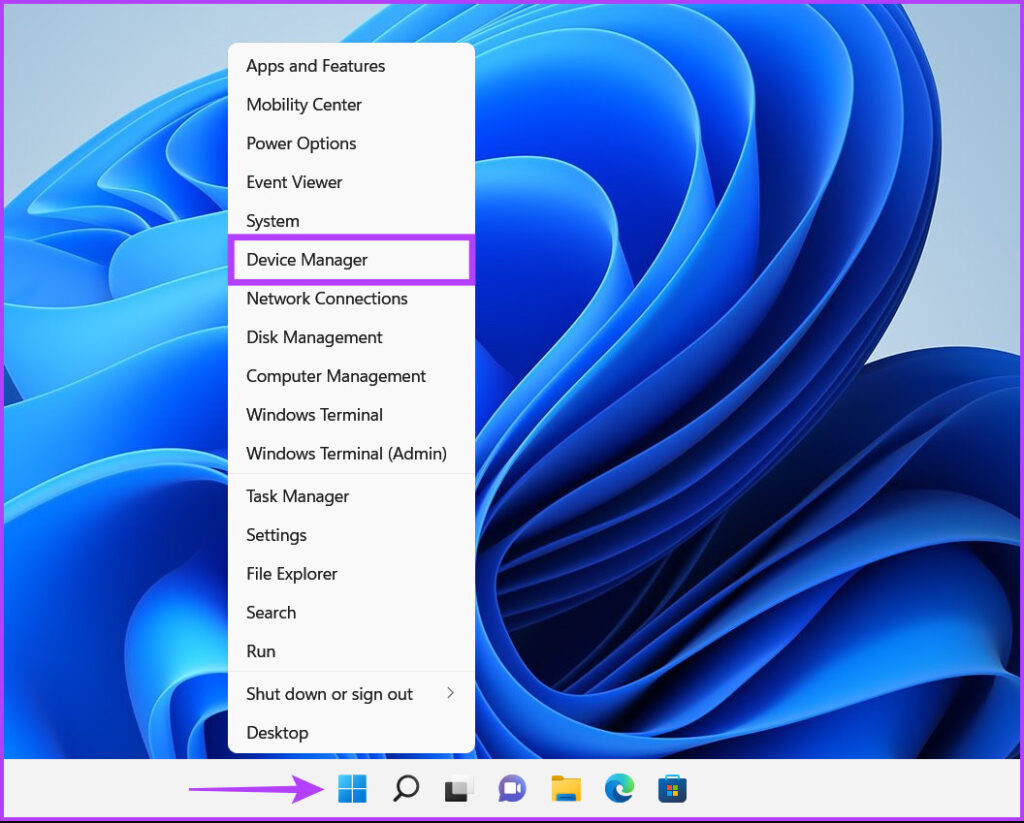
Step 1: Right-click on the Start button and select Device Manager from the list.
Step 2: In the Device Manager window, look for the Network adapters entry and double-click to expand it.

Step 3: Under Network adapters, right-click on your PC’s Wireless adapter (Qualcomm Atheros in this case) and select Update driver. If you’re facing issues over a wired connection, you will need to update your PC’s Ethernet or LAN adapter (Realtek PCIe GbE Family in this case).

Step 4: On the Update Drivers window, click on ‘Search automatically for drivers.’
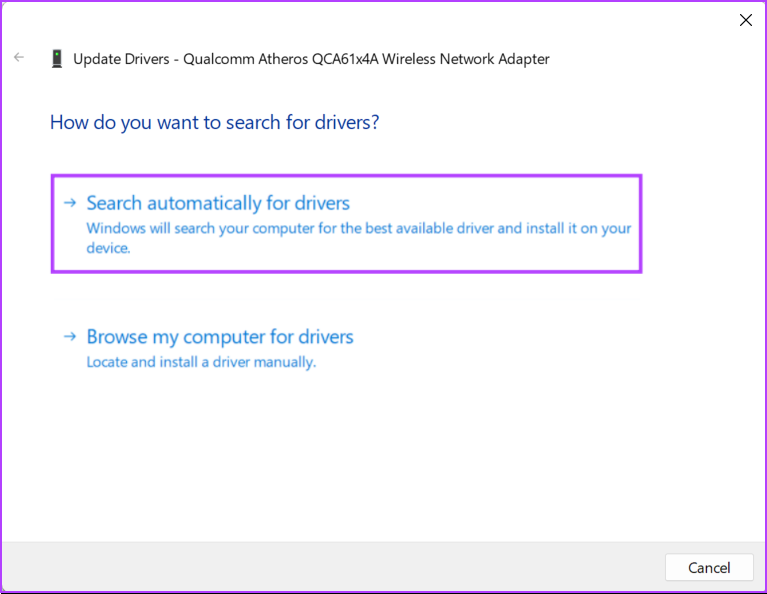
Step 5: Let it search for the latest network drivers compatible with your PC. When Windows finds appropriate drivers, it will install them.
If you see a message stating that your computer has the best drivers installed, you can scan for drivers through the Windows Update. Otherwise, click on the Close button in the bottom-right corner and proceed with the next step.

Step 6: If you can’t find any new network drivers, right-click on the network adapter and click on Uninstall device.

Step 7: When an Uninstall Device dialog appears, click on Uninstall.

Step 8: Restart your PC.
After you restart your PC, Windows 11 will automatically search for the relevant network drivers and install them on your PC.
3. Disable VPN or Proxy Servers
VPN and proxy servers are very useful to mask your identity and information from the websites you visit. However, using these tools can slow things down by introducing unnecessary latency on your network.
If you’re experiencing slow download speeds in Steam, try turning the VPN and Proxy servers off to hasten things up. Here’s how you can do that on Windows 11.
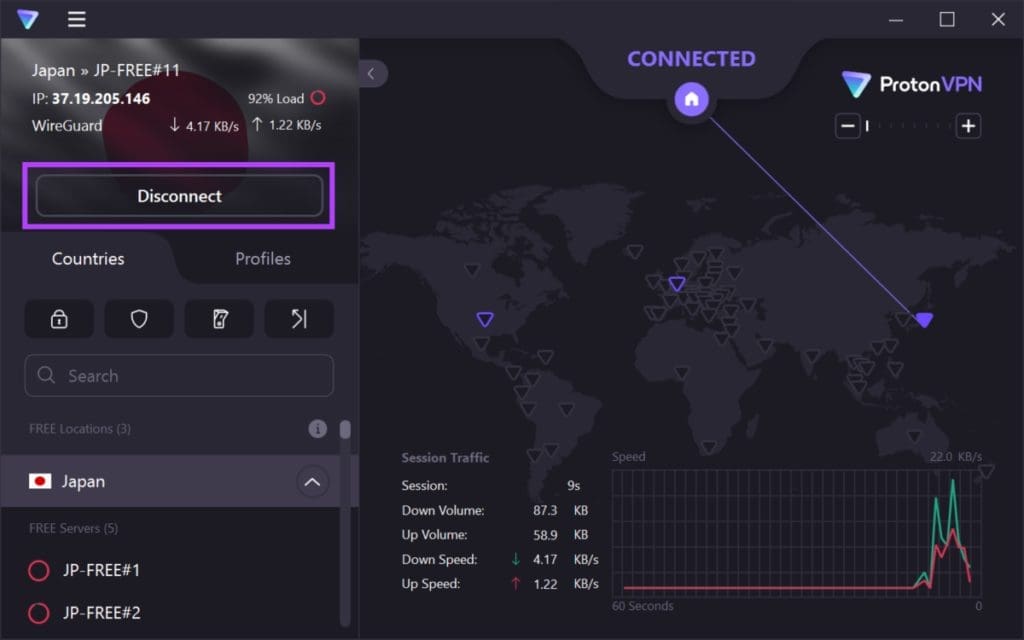
Step 1: Open your VPN client and check that it’s disconnected. If it’s not, click on the Disconnect option.
For this example, we have used ProtonVPN. The location of the disconnect button may differ depending on the VPN client you’re using.
Meanwhile, if you’ve configured your VPN manually, check the VPN toggle in the Action Center. After that, move on to the next steps and ensure you’re not connected to a Proxy Server.
Step 2: Open the Settings app by pressing the Windows + I shortcut. Click on Network & internet in the left sidebar, and select Proxy from the right side.

Step 3: Under Proxy settings, ensure that the ‘Use a proxy server’ is off.
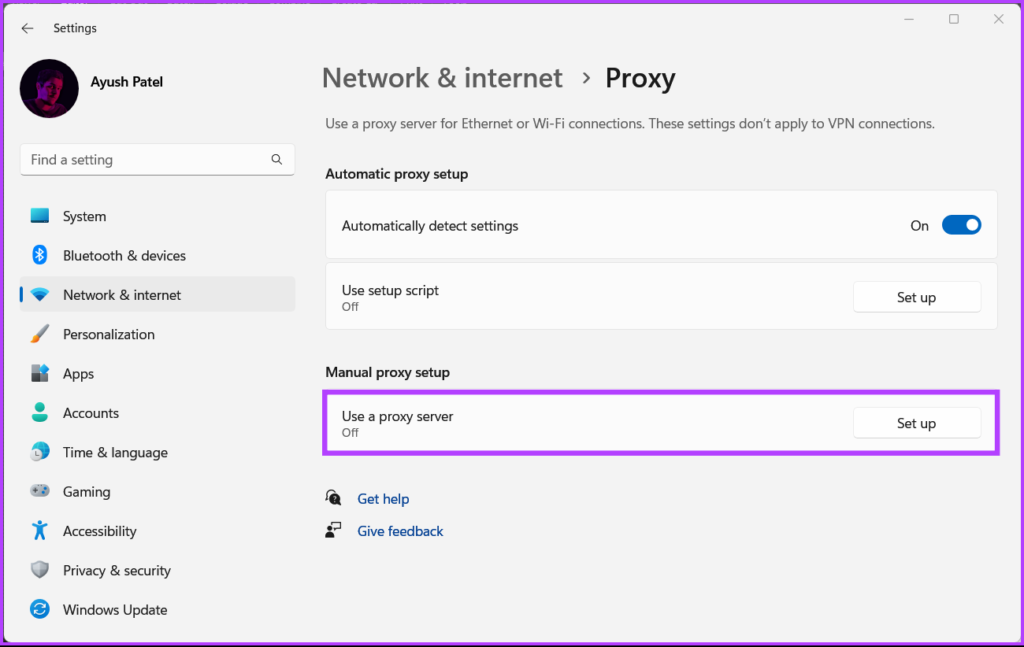
Step 4: If the proxy server is turned on, you’ll need to click on the option and disable it. Then, click the ‘Use a proxy server’ toggle to turn it off and click on the Save button.

4. Check the Steam Download Region
Steam offers hundreds of servers around the globe for better connectivity. However, connecting to a server located very far away from your location may result in slower download speeds.
To ensure you’re getting the highest download speed possible, check if the Steam download location is set to the nearest server by following the steps mentioned below:
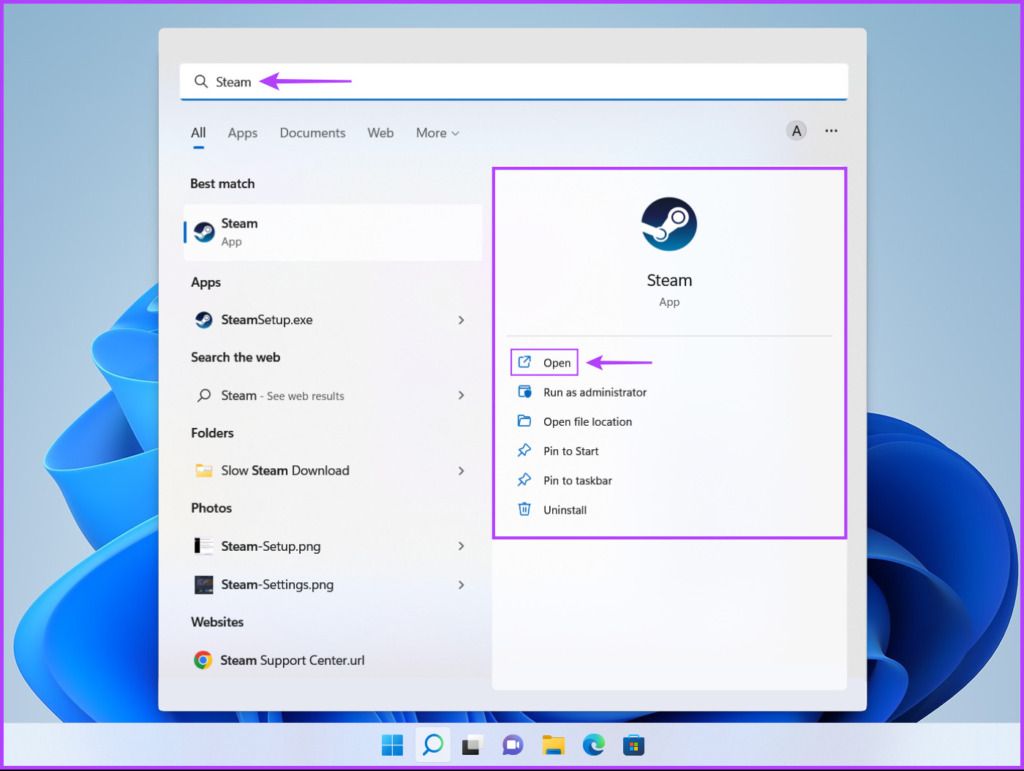
Step 1: Press the Windows + S keys and type Steam. Then from the result for Steam, click on Open to launch it on your PC.

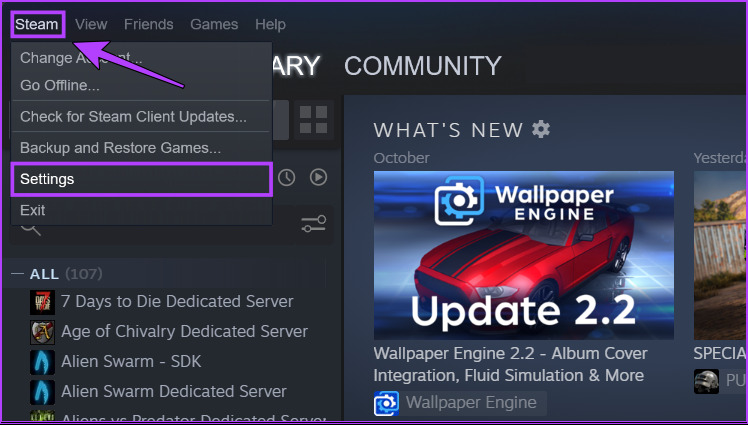
Step 2: Click on the Steam option located in the top-left corner. Then from the menu that appears, click on Settings.

Step 3: In the Setting dialog, click on the option that says Downloads.

Step 4: Click on the download region drop-down and select the server nearest to the state you’re residing in. Then click on OK to save the changes.

5. Close Unused Apps Hogging up the Bandwidth
Besides eating up your system resources, running unnecessary apps in the background, especially those connected to the internet, can dramatically slow down your download speed by hogging up the bandwidth. Hence, it’s recommended that you close such unused apps.
Here’s how you can find and close the unused apps with high network usage on your PC using the Task Manager:
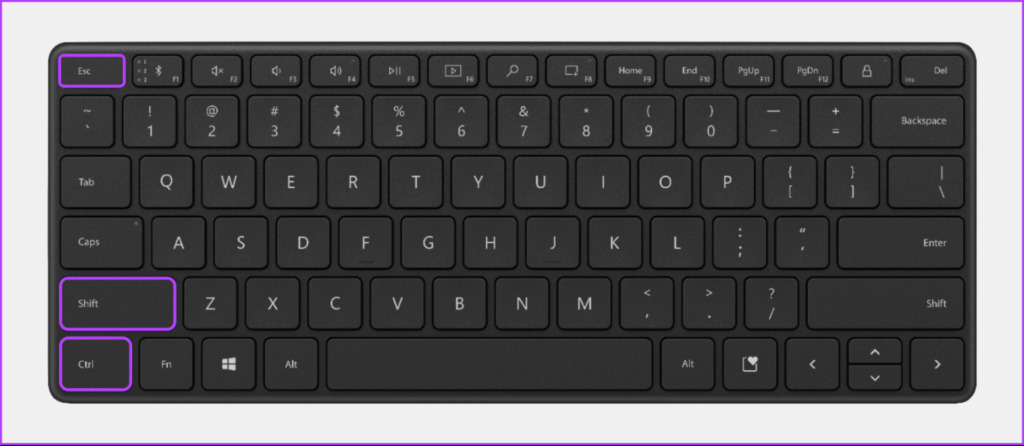
Step 1: Press the Ctrl + Shift + Esc shortcut keys to open the Task Manager.
Step 2: In the Task Manager window, click on the top of the Network column to arrange the apps in an ascending order depending on their network usage.

Step 3: Select the app with high network usage that you want to close. Then click on the End task button.

6. Disable Bandwidth Restrictions Inside Steam
Steam offers a handy toggle to restrict the bandwidth used for downloading your games. It can be helpful when you need the network bandwidth for other essential tasks and apps. However, to get the highest download speeds possible, you will need to ensure that the bandwidth restriction is turned off. Follow the steps mentioned below:
Step 1: Press the Windows + S keys and type Steam. Then from the result for Steam, click on Open to launch it on your PC.
Step 2: Click on the Steam option in the top-left corner. Next, click on Settings.
Step 3: In the Setting dialog, click on Downloads in the left sidebar.
Step 4: Deselect the checkbox next to ‘Limit bandwidth to’ option and click OK to save the changes.
Alternatively, suppose you have a high bandwidth internet connection that allows you to live stream even with downloads running in the background. In that case, you can deselect the checkbox next to ‘Throttle download while streaming’ option.

7. Reinstall Steam
If none of the solutions work, wait for a few hours and recheck the download speeds to ensure that it wasn’t caused due to issues on your ISP’s end. If that doesn’t help, the only solution that remains is to remove Steam and reinstall it. Here’s how you can do that on your PC:
Note: Uninstalling Steam from your PC will also remove all your games, their downloadable content (DLCs) and save files. You may want to create a backup of Steam game files before you proceed any further.
Step 1: Press the Windows + I keys to open the Settings app.
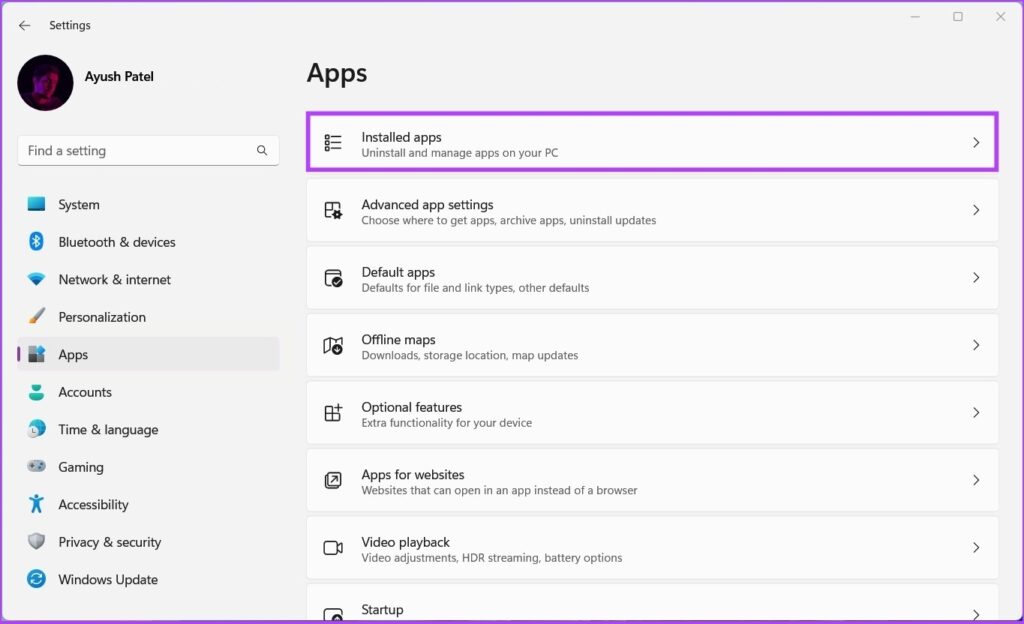
Step 2: When the Settings app opens, click on the Apps option in the left sidebar.

Step 3: On the Apps page, click on the option that says Installed apps from the right pane.
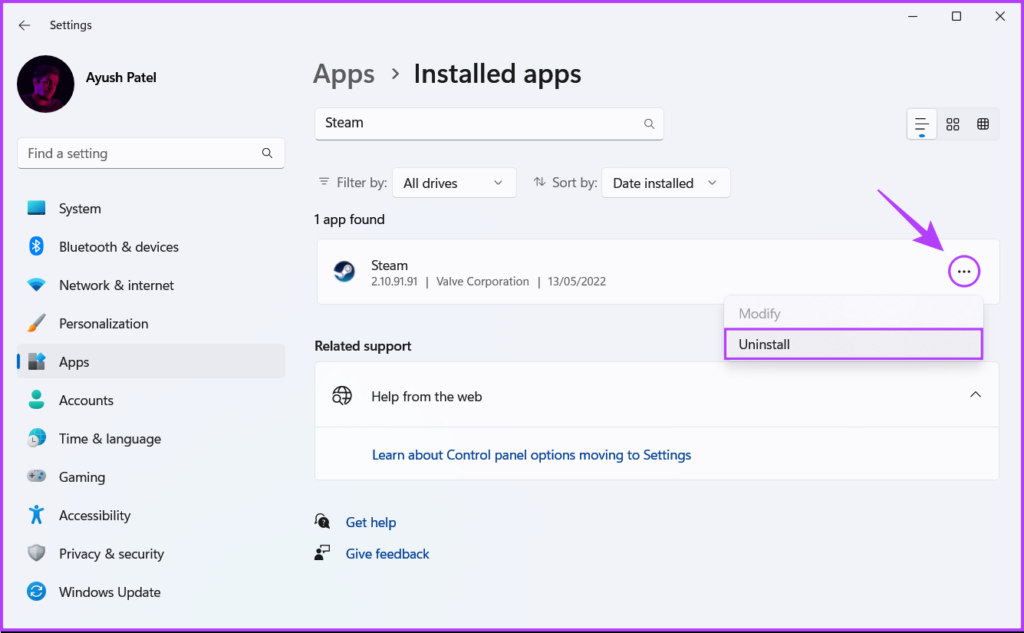
Step 4: Type Steam in the search box at the top.

Step 5: From the search results, click the horizontal three dots menu next to the Steam result. Then, select Uninstall.
Step 6: After you’ve uninstalled Steam, click the download button below to download the Steam installer again on your PC.
Step 7: After the download completes, click on the SteamSetup.exe file and follow the on-screen instructions to install Steam on your PC.

Fix Slow Download Speeds on Steam
These solutions will help you quickly troubleshoot and fix slow download speeds in Steam on Windows 11. That’ll ensure that you don’t have to wait much longer for the downloads to finish before you can start your new game.
Was this helpful?
Last updated on 11 November, 2022
Read Next
 Top 12 Fixes for Slow Upload and Download Speeds on Google Drive
When you think of cloud storage, a few reputed services come to mind.
Top 12 Fixes for Slow Upload and Download Speeds on Google Drive
When you think of cloud storage, a few reputed services come to mind.
 7 Best Ways to Fix Microsoft Store Slow Download Speeds on Windows PC
Want to download your favorite app, but experiencing slow download speeds on the Microsoft Store?
7 Best Ways to Fix Microsoft Store Slow Download Speeds on Windows PC
Want to download your favorite app, but experiencing slow download speeds on the Microsoft Store?
 5 Ways to Fix Slow Download Speeds on Windows 11
Basic Fixes Connect to a 5GHz network: When you work with a dual-band Wi-Fi router, it's a good idea to choose a faster 5GHz Wi-Fi frequency band for better internet
5 Ways to Fix Slow Download Speeds on Windows 11
Basic Fixes Connect to a 5GHz network: When you work with a dual-band Wi-Fi router, it's a good idea to choose a faster 5GHz Wi-Fi frequency band for better internet
 10 Best Ways to Increase Download Speeds in Google Chrome on Windows
While Google Chrome is touted as the fastest web browser among the competition, it isn't unusual to see slow download speeds on the browser.
10 Best Ways to Increase Download Speeds in Google Chrome on Windows
While Google Chrome is touted as the fastest web browser among the competition, it isn't unusual to see slow download speeds on the browser.
 4 Ways to Fix Slow Download Speed in Microsoft Edge for Windows
Basic Yet Essential Fixes Check internet speed: If your internet speed is slow or bandwidth is less, all downloads will get slow.
4 Ways to Fix Slow Download Speed in Microsoft Edge for Windows
Basic Yet Essential Fixes Check internet speed: If your internet speed is slow or bandwidth is less, all downloads will get slow.
 6 Best Ways to Fix Slow Download Speed in Epic Games Launcher on Windows 11
Epic Games Launcher offers a vast catalog of free and paid games that you can download and play on your computer.
6 Best Ways to Fix Slow Download Speed in Epic Games Launcher on Windows 11
Epic Games Launcher offers a vast catalog of free and paid games that you can download and play on your computer.
 9 Fixes for Windows 10 File Explorer Is Slow or Loading Slowly Error
It's a hellish experience if you want to access a file or a folder, but Windows Explorer is loading slowly.
9 Fixes for Windows 10 File Explorer Is Slow or Loading Slowly Error
It's a hellish experience if you want to access a file or a folder, but Windows Explorer is loading slowly.
 5 Best MoCA Adapters for Fast Internet Speeds
An ethernet connection can be both faster and more reliable than Wi-Fi.
5 Best MoCA Adapters for Fast Internet Speeds
An ethernet connection can be both faster and more reliable than Wi-Fi.
The article above may contain affiliate links which help support Guiding Tech. The content remains unbiased and authentic and will never affect our editorial integrity.